Fall is here and it’s my favorite time of the year. Leaves are changing and I’m getting inspired on Pinterest for how to decorate and what to cook for the upcoming holiday season.
If you don’t know this already, I love concepting ideas. And my mother in law is always helping me bring my ideas to life. I think we make the perfect team.
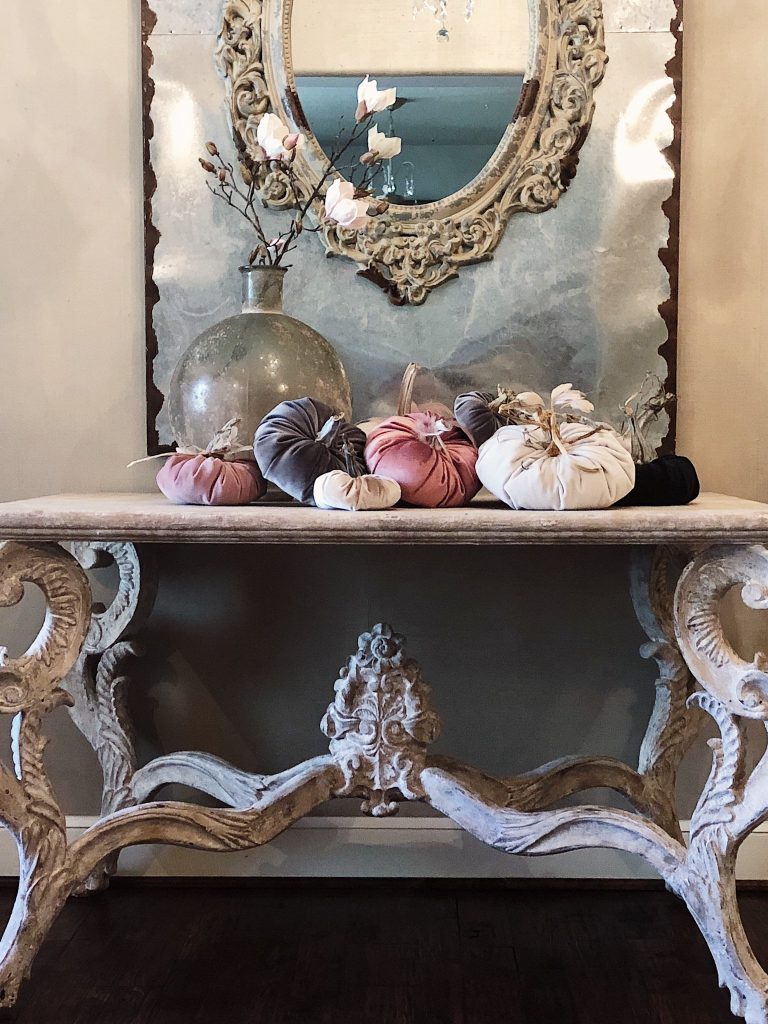
Last year, I had the opportunity to make some velvet pumpkin with her help and it was much easier than I thought it would be. So today, I’m going to show you step by step on how to make velvet pumpkins. If you’re not into crafting, you can easily buy some beautiful handmade ones on Etsy.
How to Make Velvet Pumpkins
What You Need
- Velvet
- Batting
- Yarn & Needle
- Round Template (platter or charger will do)
- Hot Glue Gun
- Sharp Scissors
- Real Pumpkin Stems (work the best when you pull them off the pumpkin rather than cutting) Tip: you can spray paint you stem for your
- Embellishments: Feathers, Pearls
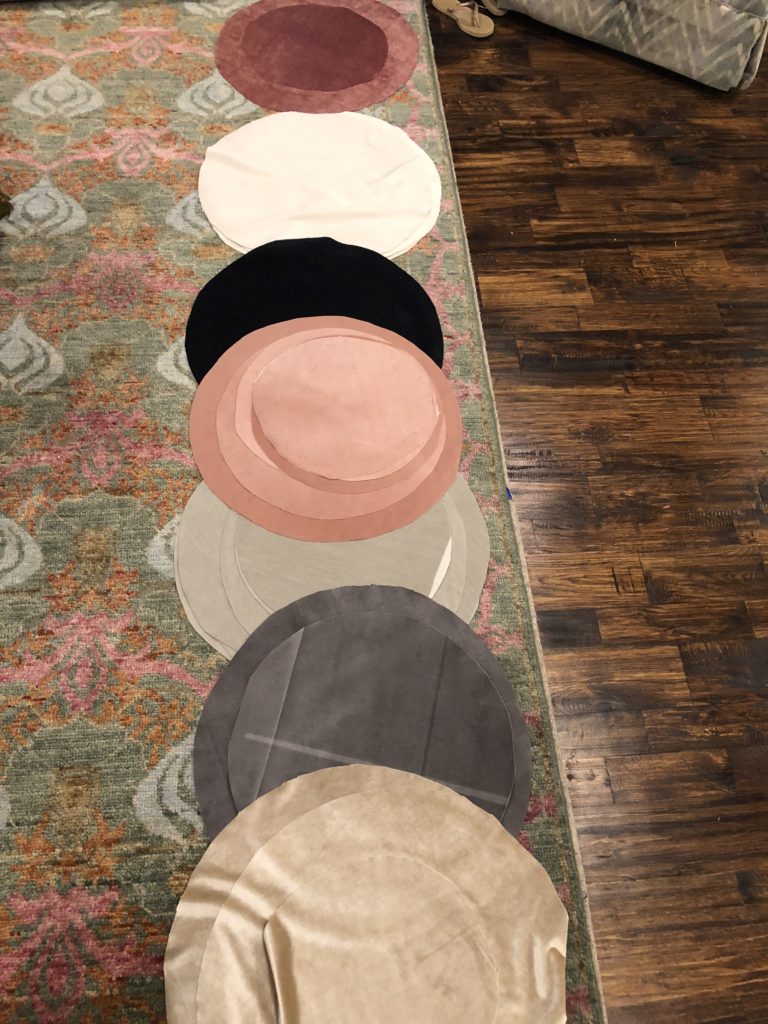
Step 1 – Cut Your Fabric
When making your circle, I would recommend making different sizes so I used items around the house such as round serving platters, large vases. The large you want at least 28″ round and small 15″ inches round.
Here, I chose more of a romantic color story that compliments my interior decor. You can simply pick one color or more fall tones!
Step 2: Form the Pumpkin
In order to fill the pumpkin, you want to start with a gathering stitch a 1/4 to a 1/2 inch around outside edge being careful not to break thread. If your fabric is thicker you want to double knot your thread so it does not break. As you stitch, the fabric will gather to create the shape of the pumpkin.
Step 3: Fill the Pumpkin with the batting
After you have threaded your pumpkin, add the batting to the inside of the pumpkin to achieve the shape you want.
Step 4: Close the Pumpkin
To close, you want to make a BIG X with thread. Then take your needle down to the bottom of the pumpkin then back up to the top of the pumpkin that will allow for a realistic pumpkin shape. Then tie the thread in a knot to complete.
Step 5: Hot Glue Your Stem
Add the glue to the bottom of the stem and push the stem into the fabric covering any gathering or thread.

Step 6: Add Embellishments
Here I added some feathers, but you can easily hot glue pearl or studs to them. Have fun with it. And it’s also a great craft for the kids!


Again, thank you for stopping by the gray details and shopping! To stay up to date on my fashion trends, sign up for my Newsletter or shop my looks here. Don’t forget to also follow me on instagram for more outfit inspiration. I don’t know about you, but I’m always getting inspired on pinterest with home and NAIL INSPO!. Have a beautiful day friends!